Electronics Workbench
|
|
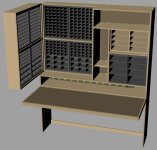
I decided that I needed more storage for electronics stuff, so I decided to
create a dedicated workbench.
|
|
|
|
|
|
|
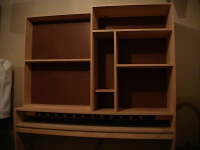
Plywood Layout
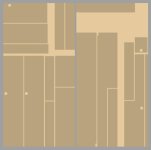
I copied all of the pieces in order to lay them out, and I was able
to fit the main carcass on 2 sheets.
Bigger...
|
|
|
|
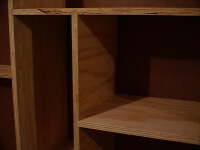
Dado Screwups
I made a dado jig to make the dadoes, but that doesn't prevent you
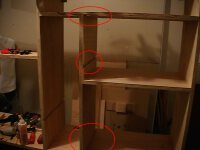
from making them in the wrong spot. The top and bottom dadoes pictured
here were caused by putting the dado on the wrong side of the line.
The middle goof was becasue I put the dado in the wrong piece of wood - Doh.
Fortunately, these will all be covered in the end product.
Bigger...
|
|
|
|
|
|
|
|
|
|
Edging
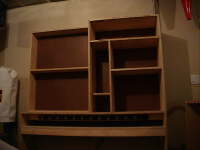
I decided to add edging to make the workbench look better, and it allowed
the pieces to fit on two pieces of plywood.
Bigger...
|
|
|
|
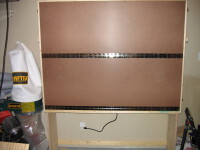
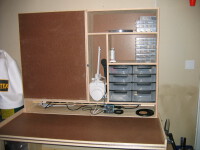
Closed Up
Finally, it's done. Here's what it looks like all closed up, to keep the
dust out (from wood-working).
Bigger...
|
|
|
|
|
|
|
|
|
|
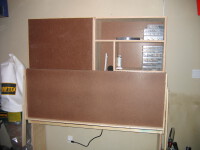
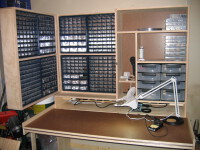
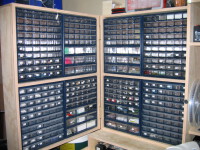
Fully Opened
And the cabinet on the left swings out to show lots of drawers
(almost 400 of them).
Bigger...
|
|
|
|
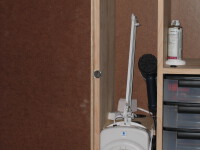
Rare Earth Magnet
I decided to use rare earth magnets (these are about 1" in diameter and
1/8" thick) to hold things closed.
Bigger...
|
|
|
|
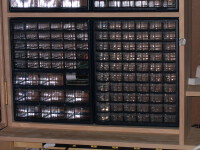
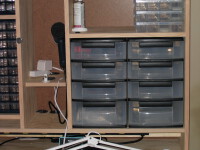
Small Drawers
Here's a closeup of the small drawers (currently empty). I bought them
at Canadian Tire.
Bigger...
|
|
|
|
Big Drawers
The larger drawers are big enough to hold 8.5" x 11" paper. I got them at
Staples.
Bigger...
|
|
|
|
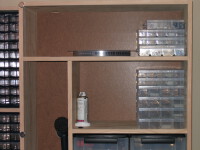
Top Storage
For collections of similar items, I sometimes prefer using fishing tackle
containers.
Bigger...
|
|
|
|
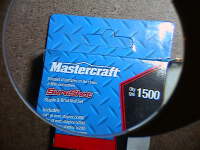
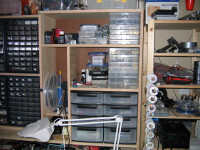
Magnifier
The desk lamp with magnifier was purchased at a sewing store. It has
a full spectrum light, which is nice. Here's a shot from a 1.5 - 2 feet
off the desk, looking though the magnifier.
Bigger...
|
|
|
|
|
|
|
Filling Up
Well things are starting to fill up. Each drawer with a white label on it
has something in it. For my resistors, I used the first two digits from the
E24
series to label the drawers. For the capacitors, I used the first two
digits from the E12 series. So 1, 10, 100, 1k, 10k etc are all in one drawer.
Bigger...
|
|
|
|
Filling Up
The other side is starting to fill up as well. I found some really nice
Plano tackle containers that I use for storing lots of related parts
(like all my 0.1" headers, all my heat shrink tubing, etc.)
Bigger...
|
|
|
|
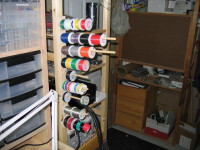
Wire Rack
I made a simple little wire rack using a piece of 1x2 and some dowels.
Bigger...
|
|
|
|
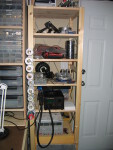
Extra Storage
Of course, I needed even more storage, so I put together an Ivar unit
from Ikea and put it on wheels. It has some drawers on the bottom and
open shelves on the top.
Bigger...
|
|
|
|
Small Storage
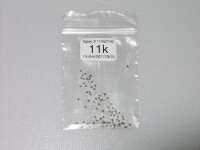
I decided to get some small storage bags for storing resistors. This
takes up a lot less space than storing them on the paper reel.
I happened to win a Digikey PHG1-Kit and PHG2-Kit on eBay, which combined
together was 200 resistors of 144 different values (total 28,800 resistors).
I still do some PostScript programming, so I created some PostScript and
PDF files for the labels. I used Avery #05418 labels.
Labels-PHG-A.pdf,
Labels-PHG-B.pdf,
Labels-PHG-C.pdf,
Labels-PHG-D.pdf,
Labels-Misc.pdf,
Labels-PHG-A.ps,
Labels-PHG-B.ps,
Labels-PHG-C.ps,
Labels-PHG-D.ps,
Labels-Misc.ps
Bigger...
|
|
|
|
|
Home
- Wood Working
|
