| Prev | The Mold |
Next |
|
|
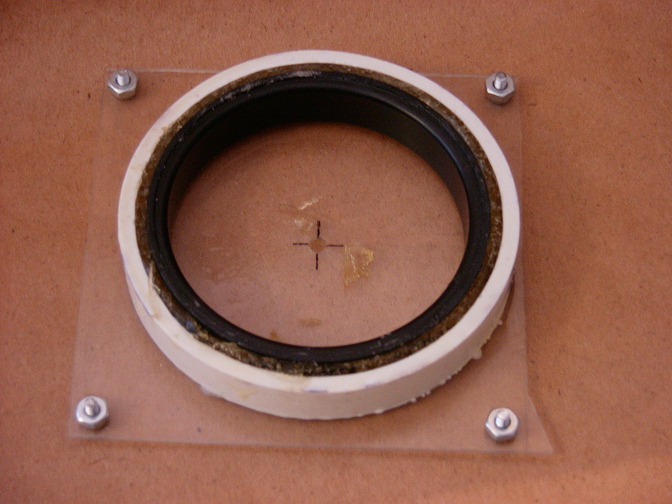
I cut a piece of clear plastic about 4" sqaure, and drilled a hole in the
center and each of the 4 corners. The holes were big enough for a 4-40
screw. The corner screws were just to act like feet so that the whole thing
would sit level when the center screw was installed.
In order to locate the center of the black piece, I created another piece of clear plastic, marked the center and drew a circle which matched the inside diameter of the black piece. After cutting this out and ensuring a snug fit, I drilled a very small hole in the center. I was then able to rotate the clear plastic with the black piece fitted to ensure that the hole was in the center. Once satisfied, I drilled the center out to accomodate a 4-40 screw. Screwing the two clear plastic pieces together allows the black piece to be positioned. I then glued the white piece to the square plastic piece, leaving a space all around the black piece. Getting the white piece centered isn't important, and for that matter it could be any shape that is desired. The round clear plastic piece is missing from the picture (just in case you were wondering). I sprayed the black piece with mold release and put some petroleum jelly on the portion that touches the clear square plastic piece. I then mixed some mold making material and put it between the black and white pieces. Don't try to use heat to accelerate the drying process, it just causes lots of air bubbles to form! After about 6-8 hours the black piece (and the clear round piece) can be removed. I let the mold cure for a couple days after that. Bigger... |
| Prev | Index | Next |
Home - Line Maze 2006 - Marauder - Index