Constructing a Line Following Track
|
|
Here's what I did to construct my line following track.
I started with 2' x 4' sheets of 1/4" fiber board that was already
covered in a white finish on one side. The back side was unfinished but
still relatively smooth.
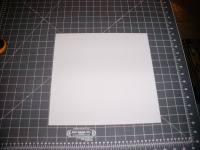
The 2 x 4 sheets were cut into 11-3/4" squares (they weren't exactly 2' x 4'
to start with, and you need to allow for the width of the saw blade).
The inspiration for this track came from the
Line Following Competition
hosted by the
Chicago Area Robotics Group.
|
|
|
|
|
|
|
|
|
|
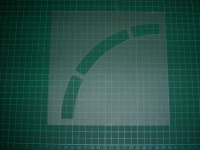
Curve Template
This is the template that I made to cut the tape for the curves. The green
mat is one of my wife's cutting mats that she uses for sewing, and the
plastic is "template" plastic used for making templates for cutting fabric.
The grid on this mat is in centimeters.
Bigger...
|
|
|
|
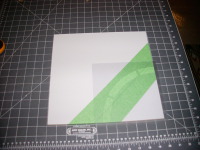
Curve Template in place
The template is placed over the tape, and the curve edge is traced out
with an exacto knife. After removing the template, the short little segments
that held the template together with cut by hand, and I went over the
tape seam to make sure that the cut went all the way through.
Bigger...
|
|
|
|
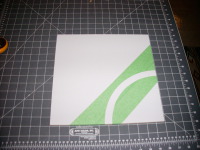
Curve ready for painting
Remove the unwanted tape, and we now have a curve ready for painting. Note
that the tape wraps around the edge of the tile, and I plan on painting the
edge as well.
Bigger...
|
|
|
|
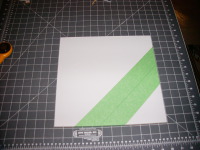
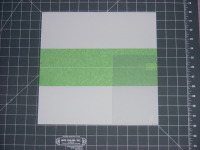
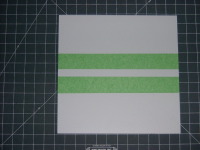
Taped for a straight section
Green Painters tape laid down for a straight section. You can also see
the template on the right hand side for marking the edges of the straight
section.
Bigger...
|
|
|
|
|
Home
- Line Maze 2006
|
