Adapting a Taig slitting saw holder for the Sherline
|
|
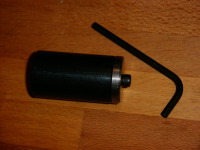
This documents my procedure for adapting a Taig Slitting Saw holder
to work on my Sherline. In retrospect, I would have done a number
of things differently if I was going to do this again.
Note: I took these pictures a couple of years before I did the writeup.
|
|
|
|
|
|
|
|
|
|
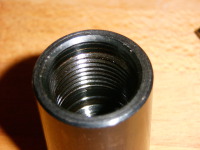
Registration area
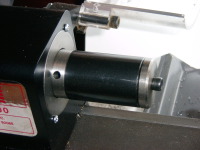
The Taig mill has a registration area with no threads. You can see this
here. You can just see some scores made by the threading tool.
Bigger...
|
|
|
|
|
|
|
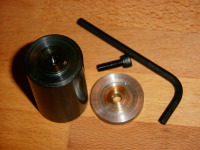
Mounted Arbor
And this is the mounted arbor. Note that due to the size of the registration
area, there is only about 1.5 threads of engagment.
Bigger...
|
|
|
|
Indicate
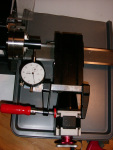
This was my first mistake. I also find it interesting that there is a 4 jaw
in the picture here, but in the later photos where I did the actual
machining, it's quite clear that a 3 jaw was used. The mistake was
performing the indicating on the outside of the arbor. I should have
indicated on the inside of the registration area.
Bigger...
|
|
|
|
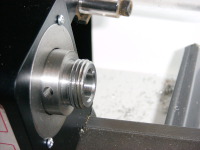
Remove Excess
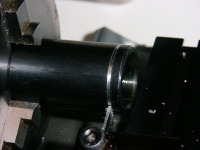
Here, the excess registration area is being removed. This is clearly a 3 jaw
being used. Also, if you look closely, you can see a faint horizontal line
on the arbor about half way between the jaws. This was left as the original
stock was pushed through by an automatic feeder.
Bigger...
|
|
|
|
|
|
|
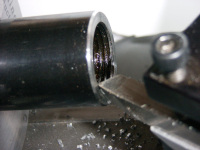
Chamfer Inside
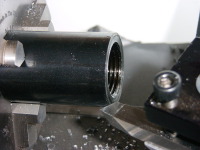
And the inside corner, as well as cleaning up any irregularities that
might have been left by the parting tool.
Bigger...
|
|
|
|
Fix it
Well, when I mounted the arbor on my mill, my slitting saw had a large amount
of runout. In retrospect, I no longer find this suprising. My solution
was to mount the slitting saw arbor directly on the spindle and true up
the critical surfaces. The outside portion is mostly cosmetic, but I find
it easier to look at when it isn't wobbling.
Bigger...
|
|
|
|
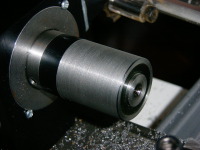
Finished
I also trued up the end-cap and marked the alignment so that I could
mount it in the trued up position. The slitting holder bow runs
very true.
Bigger...
|
|
Home
- Machinist
- Modifications/Improvements
|
